Remove all jewelry, put on safety glasses, and move outside or to a well-ventilated place before doing anything else.
Fit your AGM battery charger into the socket. Observe any further guidelines provided by your particular charger.
Attach a backup power source to the OBD-II port for onboard diagnostics.
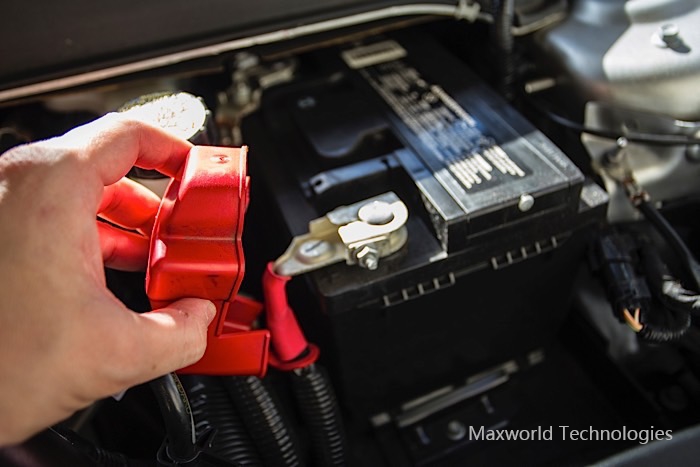
To keep the negative terminal of the car from touching any metal, disconnect it and cover it with a rag, glove, or other object. Although the negative cable is typically black, you can also check the cable for the minus (-) symbol.
PLEASE NOTE: On your charger, be sure to select either Absorbed or AGM for the battery type. When you attach a smart charger, it might recognise the voltage and type of battery, but don’t rely only on it. Your AGM battery’s voltage should be matched by selecting 12 volts.
Attach the charger to the vehicle’s battery posts. Make sure the indication lights are set to Absorbed or AGM by checking them once again.
For an AGM battery to be fully charged, start the charger and give it two to eight hours.
When the charger is finished, disconnect it from the battery. The indicator light on your charger will turn off when the battery finished charging completely. Once more, keep the charger’s clamps away from the unfastened negative clamp on the battery.
Reattach the negative terminal of the car to the battery. Cut off the backup battery. You’re now prepared to embark on a new journey.
Your car’s battery will warm up after charging. The water in the battery evaporates if it becomes too hot. The liquid inside so becomes increasingly acidic. This implies a considerably faster internal deterioration of the battery. You can solve this by gradually charging your battery. Its charge should be increased without its temperature being raised.